

As I promised in the last article, I’ll be discussing one of the crucial components in creating a fisheye lens using the Vulkan Graphics Library. We’ll talk more about the math behind the distortion, but for now (for the sake of iterative methodology), we need to know where to apply this distortion. That way, we can observe and improve the distortion math.
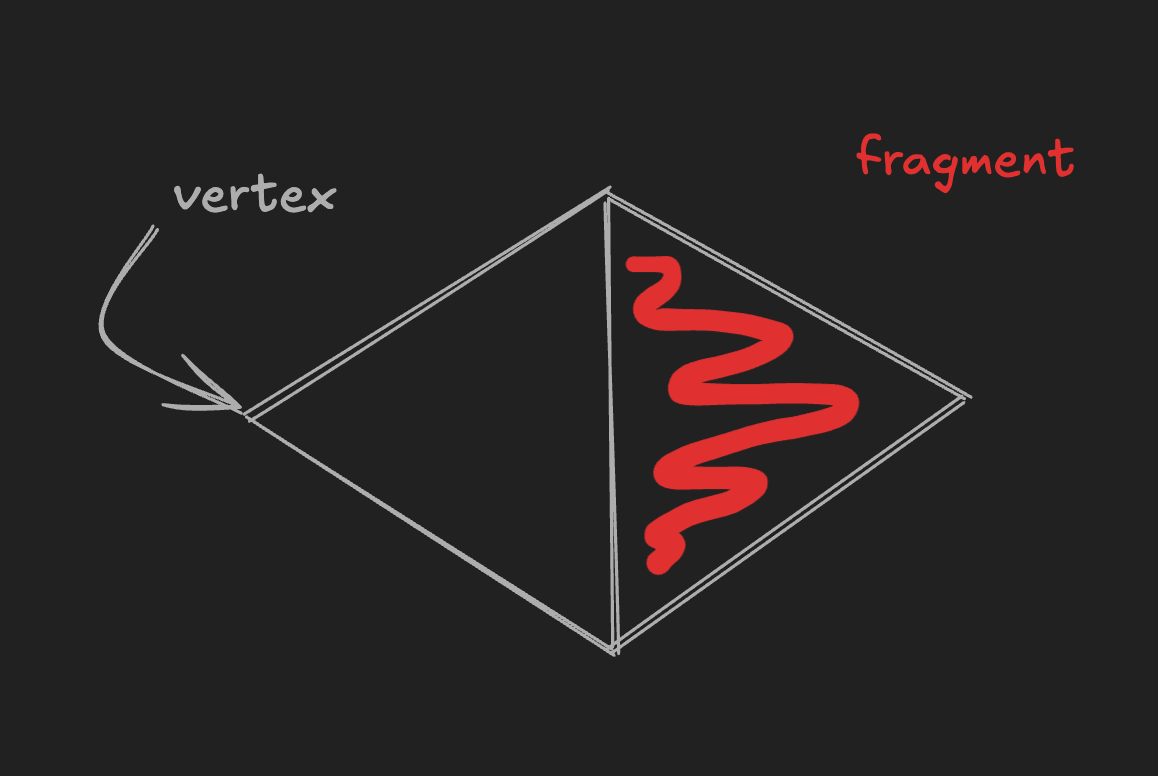
Each basic graphics pipeline has two points for transforming 3D positions into 2D screen coordinates: a vertex shader and a fragment shader. The vertex shader runs once for every vertex (corner point) in your 3D geometry. After the GPU figures out which pixels on screen are covered by a triangle, the fragment shader runs once per each of these triangles. Its job is to determine the color of that pixel.
My quadrilateral tax paper is made of 4 vertices and 2 triangle fragments:
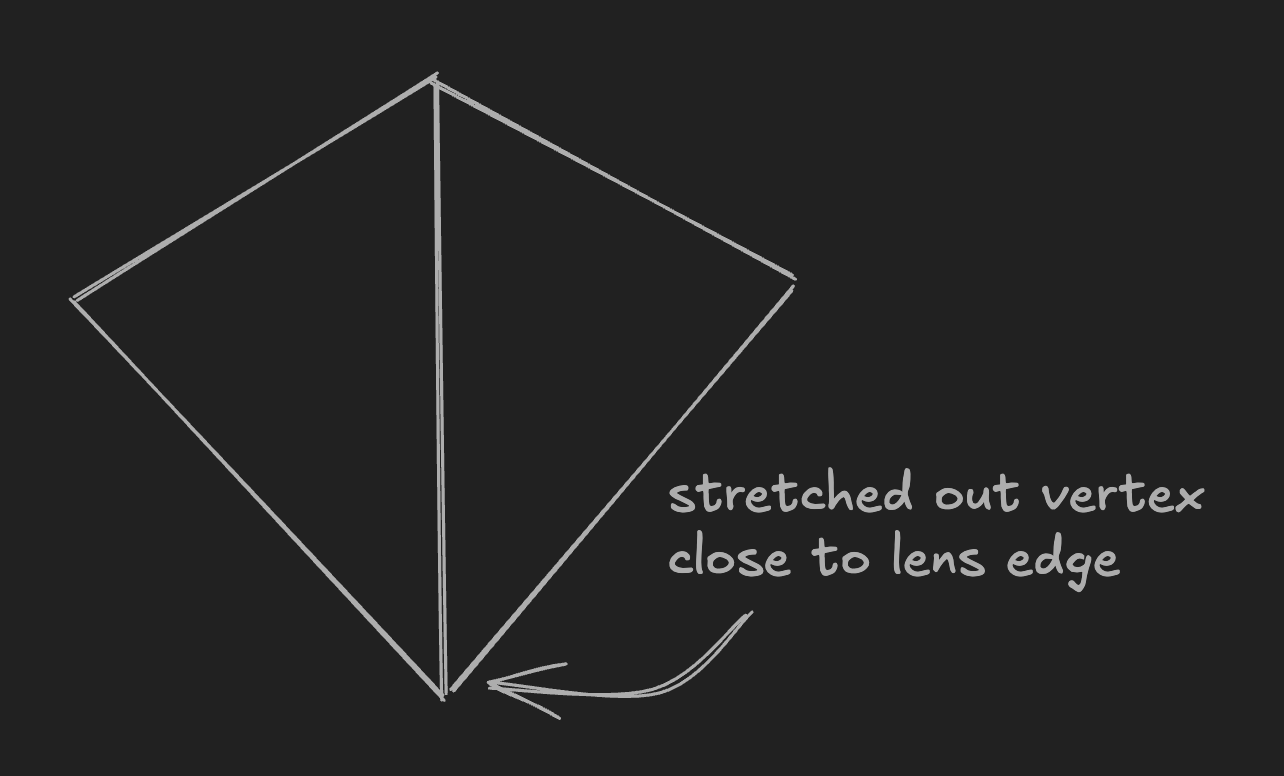
When I try to apply distortion in the vertex shader, it gets the positioning right. But because it’s acting only on the vertices, when it comes to the interpolation between them, we still get straight lines.
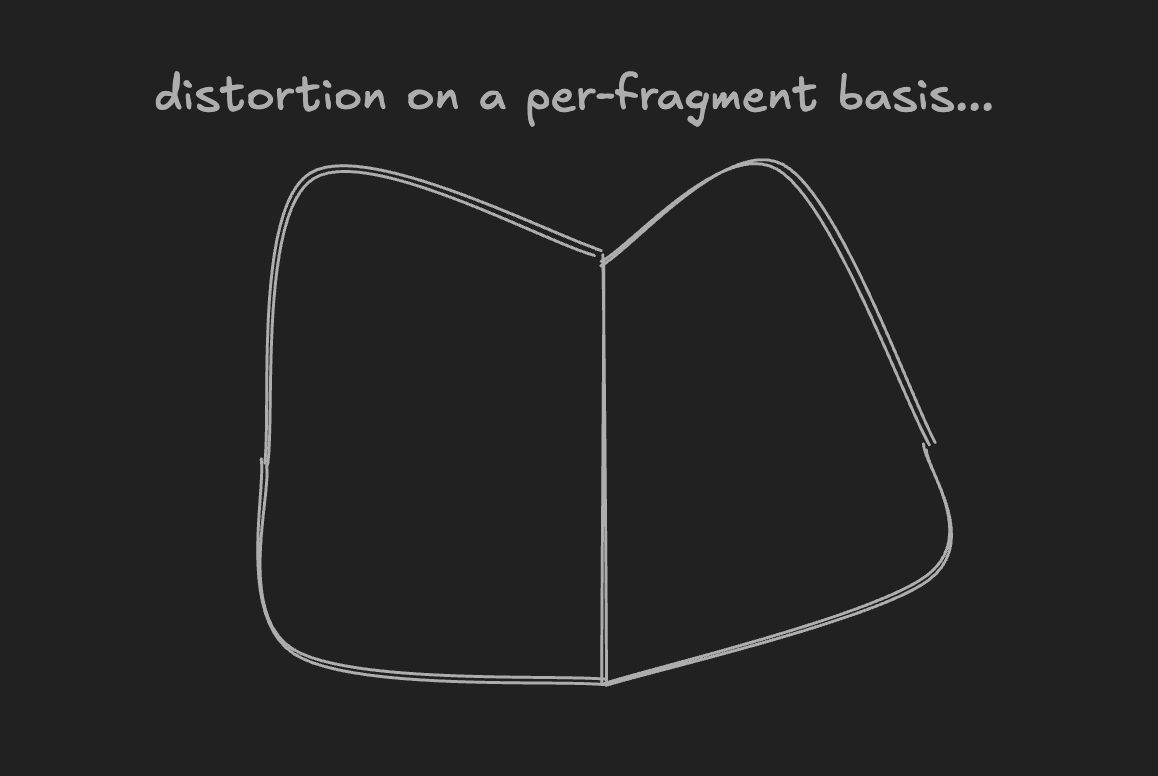
A similar issue happens in the fragment shader. While the distortion looks sufficiently “bulbous,” well…it only applies per fragment:
(I wish I had made recordings of these states…let that be a lesson in why you don’t hide from your work until you get it right.)
If we were to mimic the real-life physics, what we’d need here is a finished view of the whole, and to then apply the distortion to the whole. So what we’ll do is set up two graphics pipelines. The first generates a fully rendered image, the second takes in that fully rendered image as a fragment and applies the fisheye distortion.
This process is really similar to the established practice of correcting VR lens distortion. VR headsets use wide-angle lenses placed close to the screen to create a sense of immersion. These lenses bend light in a way that causes pincushion distortion—straight lines bow inward, and the image stretches more toward the edges than the center. If you rendered a normal scene and just displayed it, it would look warped.
The trick is to intentionally apply the inverse distortion—barrel distortion—to the rendered image before it hits the lens. The lens then un-distorts it back. We’ll simply swap out barrel distortion for fisheye:
I did at least make a recording after I got the dual pipeline approach working!
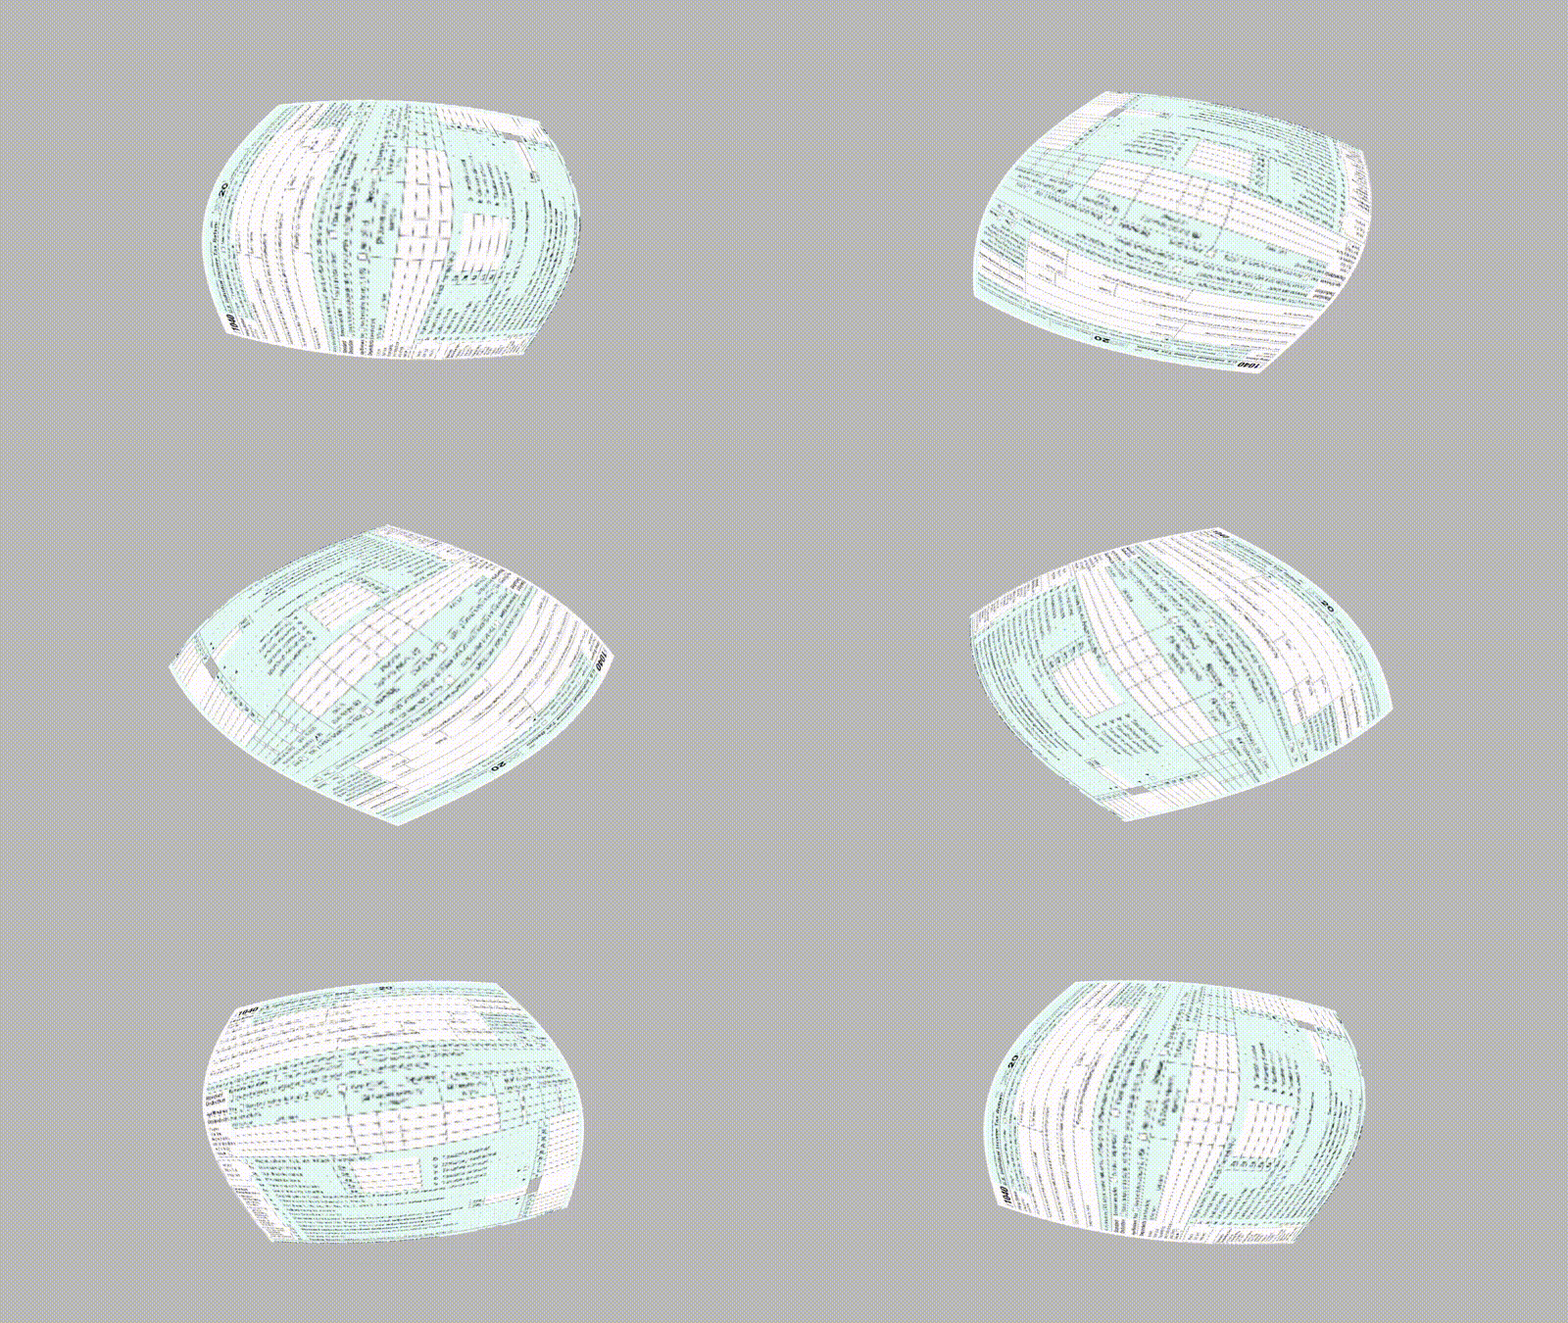
You will however notice that the texture quality is terrible! But that’s a topic for next week!